Pink Himalayan Floral Bath Salt Cakes
Bath salts always make for a great homemade gift. They are simple, elegant, and super easy to throw together.
But have you ever considered taking it one step further and turning a beautiful bath salts recipe into a even more beautiful bath salt cake recipe?
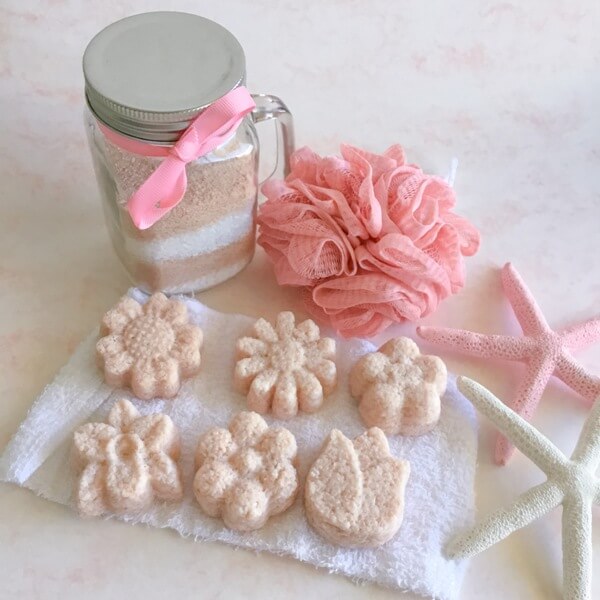
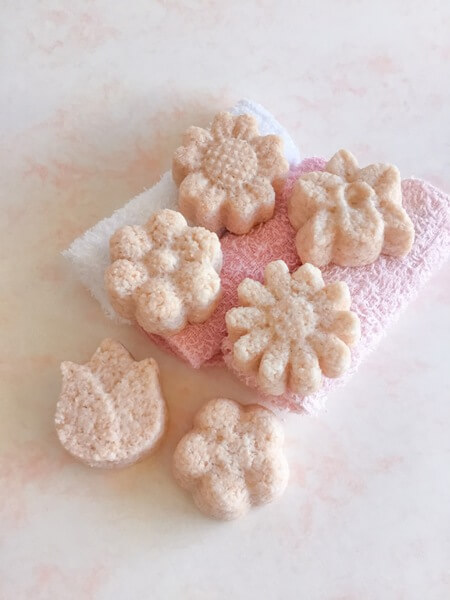
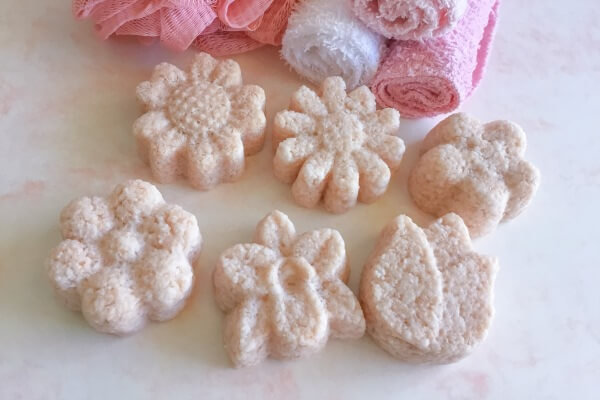
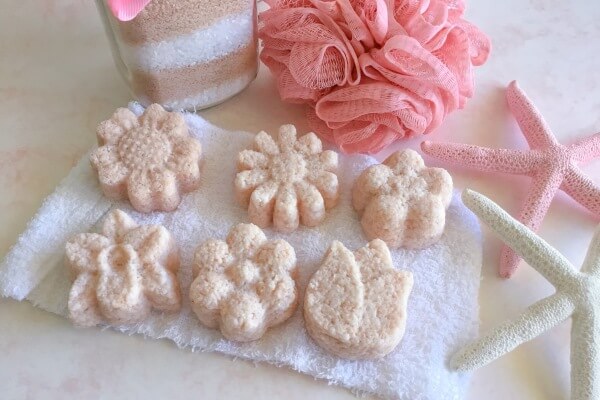
These pink Himalayan bath salt flowers are just gorgeous. Time to give them a go!
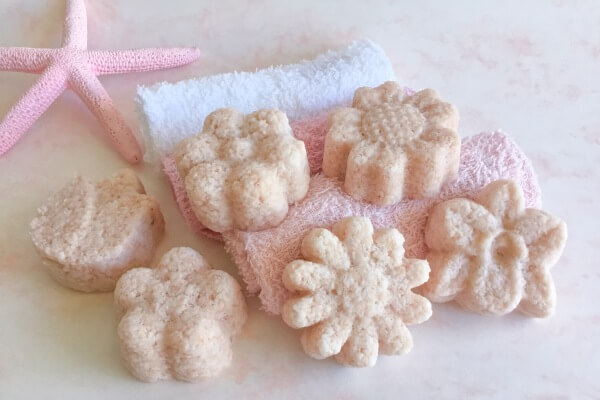
How to Make Pink Himalayan Floral Bath Salt Cakes
What You Need
- 1/3 Cup Epsom Salt
- 1/3 Cup Fine Pink Himalayan Salt
- 1/3 Cup Bi-Carb Soda (Sifted)
- 1tsp Carrier Oil*
- 10-20 Drops Essential Oil or Fragrance Oil
- 2 Tsp Water*
- Mouldtastic Mix & Press Value Pack silicone mould set
- Mixing Bowl and Spoon
- Tray lined with Grease-Proof Baking Paper
Method
Add Epsom salts, pink Himalayan salt, and sifted baking soda into a bowl (make sure it’s not a plastic bowl if you are using essential oils) and mix well.
Add carrier oil, essential oils and water, and then stir until fully incorporated. Your mixture should be damp but not so soggy that the salt starts to dissolve.
Spoon some salt mixture into a mould and use your fingers to push it down firmly into the details of the mold. Then keep filling the remainder of the mould until it’s full and pack your mixture down level with the rim of the mould (don’t force too much of the mixture in or your mould may be misshapen).
Slowly and carefully turn your mould over and turn out your salt cake out onto the top left of your paper-lined tray. Tapping the back of the mould with the length of your index finger will help your salt cake release, as well as lightly squeezing the edges of the mould as you lift it away.
Repeat steps 1-3 until all of your Epsom salt mixture is gone.
Set your salt cakes aside to dry for 12-24 hours.
Directions for Use
To use, lay all of your cakes in the base of your bath tub (or 1-2 cakes in a bucket for a relaxing foot soak) and fill with water. Swirl your arm through the water to break up the cakes and help the salts dissolve. Then hop in and relax.
Store your bath salt cakes in a plastic zip-lock bag for color and scent longevity.
To give as a gift, place salt cakes in a cellophane bag and tie off with a pretty ribbon.
Notes
*Water
To increase the storage longevity of your bath salt cakes, do not use water from the tap in the recipe. This can lead to mould growth. Instead we recommend demineralised water (available from the supermarket), or water that has been boiled and then cooled.
*Carrier Oil
As this recipe uses essential oils, we have included a carrier oil for dilution purposes. Essential oils should always be diluted, especially in the bath (where they have access to all sorts of nooks and crannies they might not ordinarily have).
Common carrier oils include fractionated or liquid coconut oil (MCT), jojoba oil, sweet almond oil (beware of nut allergies if you are giving these bath salt cakes as a gift), grapeseed oil, avocado oil, and the list goes on.
Troubleshooting Tips
If your salt cake crumbles out of the mold, your salt mixture is too dry or you haven’t compressed the mixture tightly enough into the mold. Try pressing it down harder, or add a small amount of water or carrier oil and try again.
If your salt cake does not remove at all from your mould, your mixture is too wet. Add some more salt and try again.
-
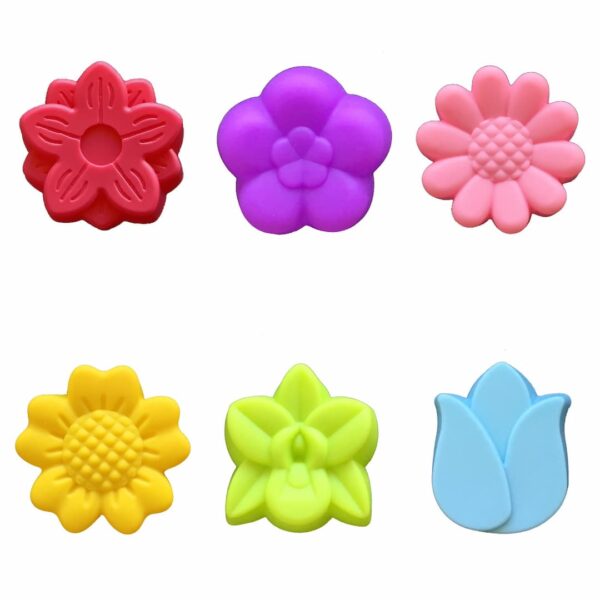 Silicone Mould 5cm – Mix & Press Value Pack$10.00 AUD
 -
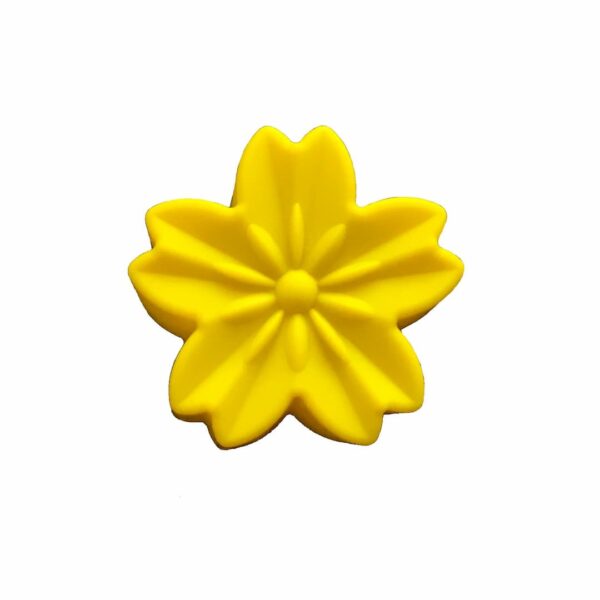 Silicone Mould 5cm – Cherry Blossom$2.00 AUD
 -
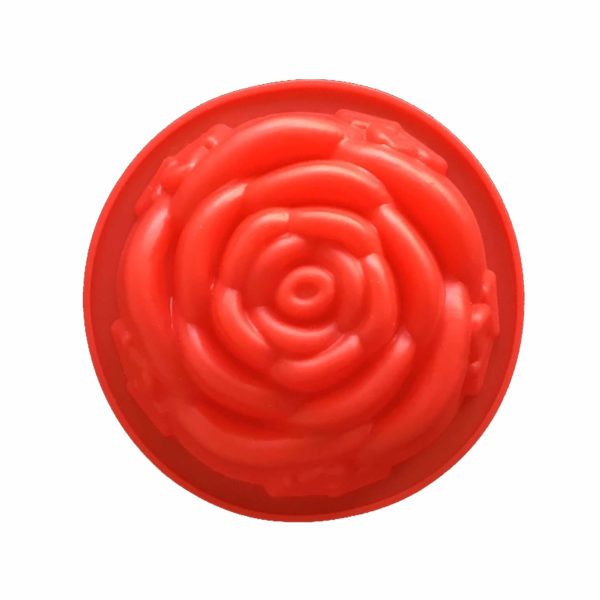 Silicone Mould 8cm – Rose$3.00 AUD
 -
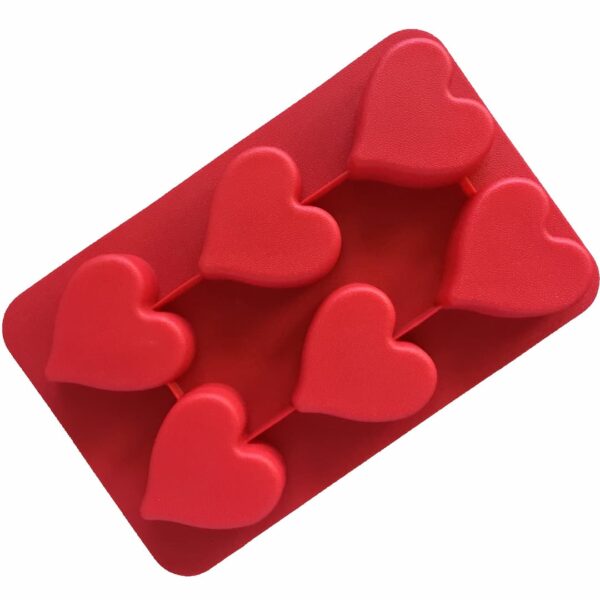 Silicone Mould – Jumbo Heart
$14.99Original price was: $14.99.$11.99Current price is: $11.99. AUD
Use a Different Mould
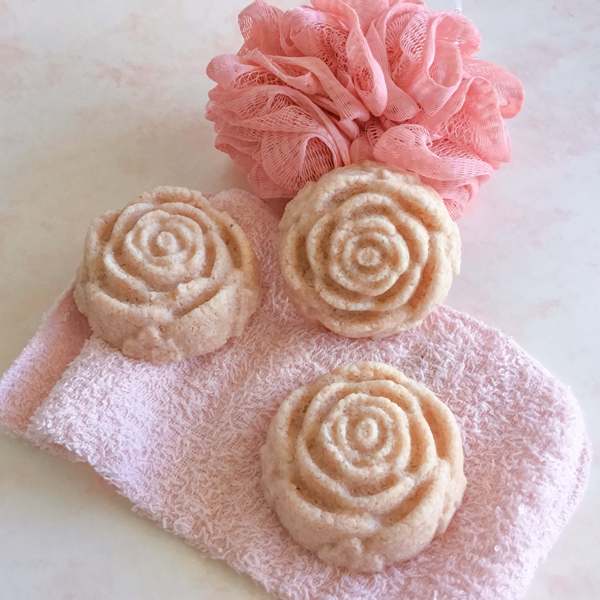
Looking for some inspiration? Use this recipe to make some bath salt roses with our Single Cavity Rose Mould.
Share:
Search for Projects
Or Choose a Category
On Sale This Month
-
Sale!

My Little Book of Blends – Floral Heart
$12.50Original price was: $12.50.$10.00Current price is: $10.00. AUD Add to cart -
Sale!

Silicone Mould – Jumbo Heart
$14.99Original price was: $14.99.$11.99Current price is: $11.99. AUD Read more -
Sale!
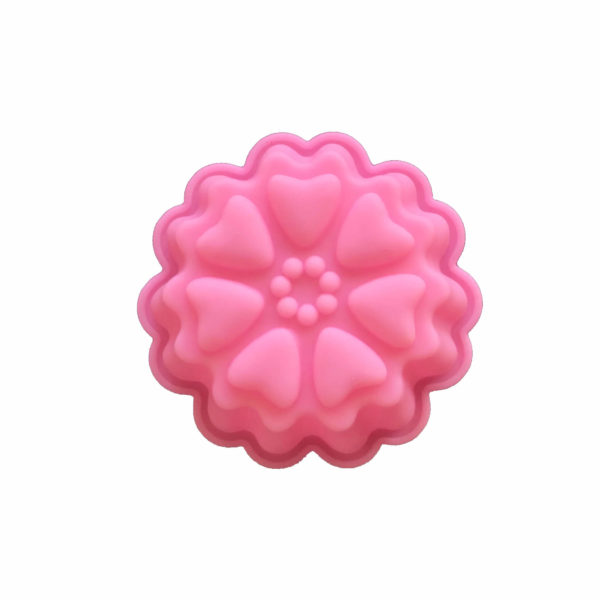
Silicone Mould 5cm – Heart Blossom
$2.00Original price was: $2.00.$1.60Current price is: $1.60. AUD Read more
Most Popular Projects
Shop Now
-
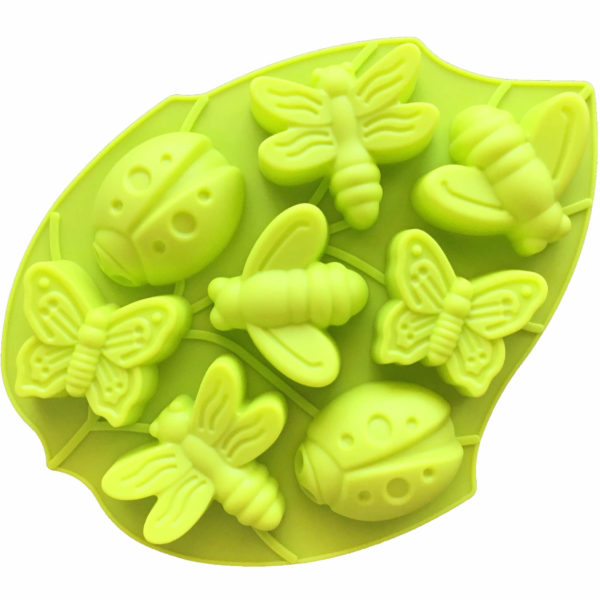
Silicone Mould – Insect Leaf
$10.99 AUD Read more -
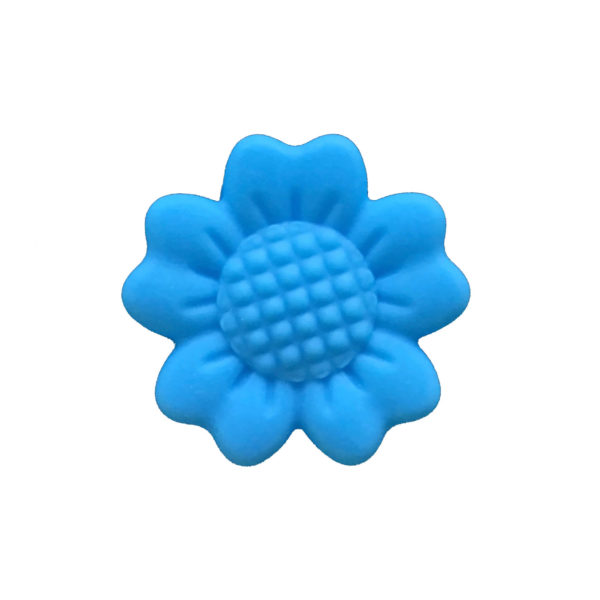
Silicone Mould 5cm – Sunflower
$2.00 AUD Add to cart -
Sale!

Silicone Mould – Jumbo Heart
$14.99Original price was: $14.99.$11.99Current price is: $11.99. AUD Read more -
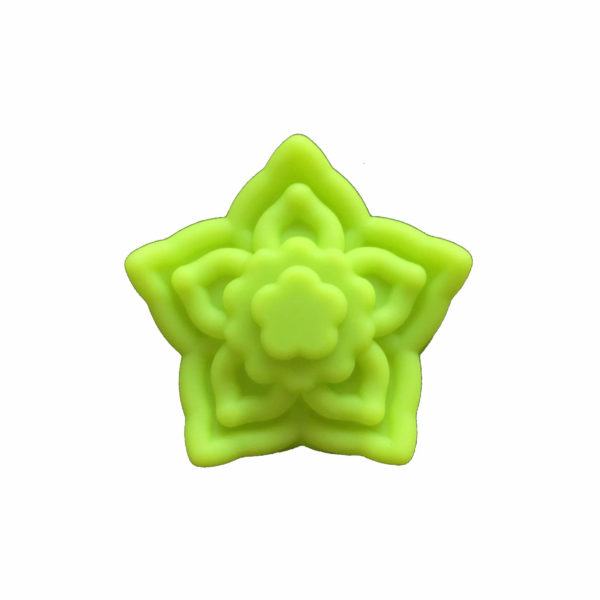
Silicone Mould 5cm – Jasmine
$2.00 AUD Add to cart -
My Little Book of Blends – Blue Wreath
$12.50 AUD Add to cart -
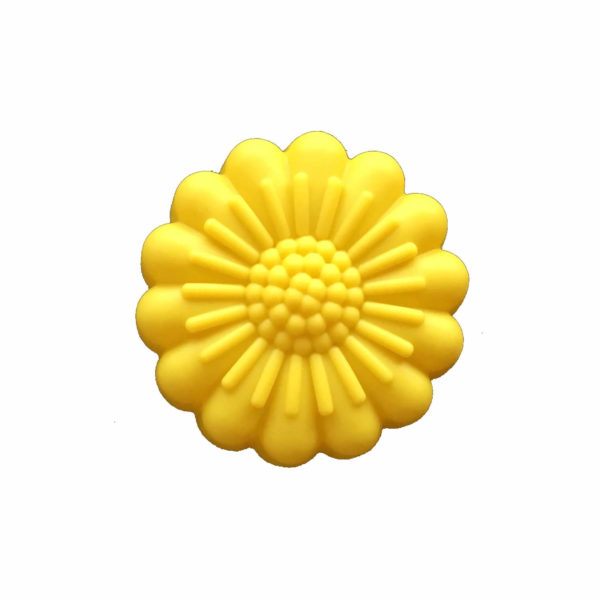
Silicone Mould 5cm – Chrysanthemum
$2.00 AUD Add to cart -
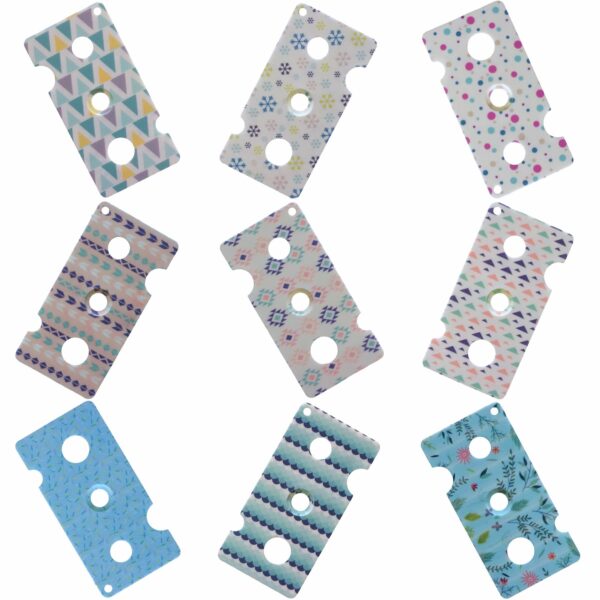
Essential Oil Bottle Key – Assorted
$3.00 AUD Select options This product has multiple variants. The options may be chosen on the product page -
My Little Book of Blends – Beach
$12.50 AUD Add to cart -
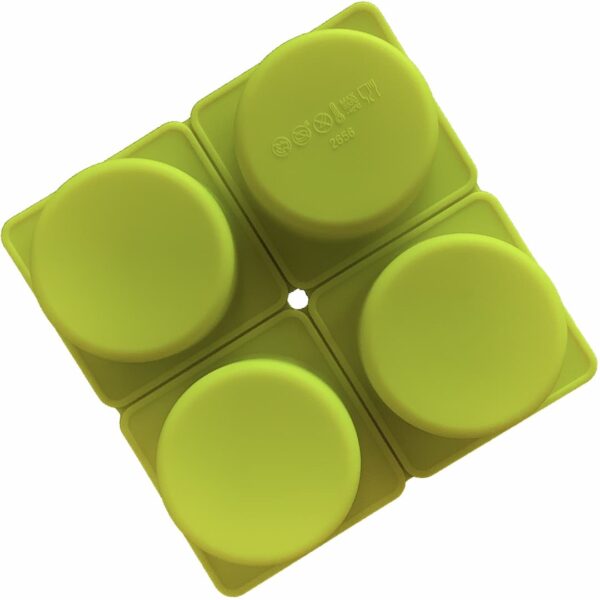
Silicone Mould – Circles
$11.99 AUD Add to cart -
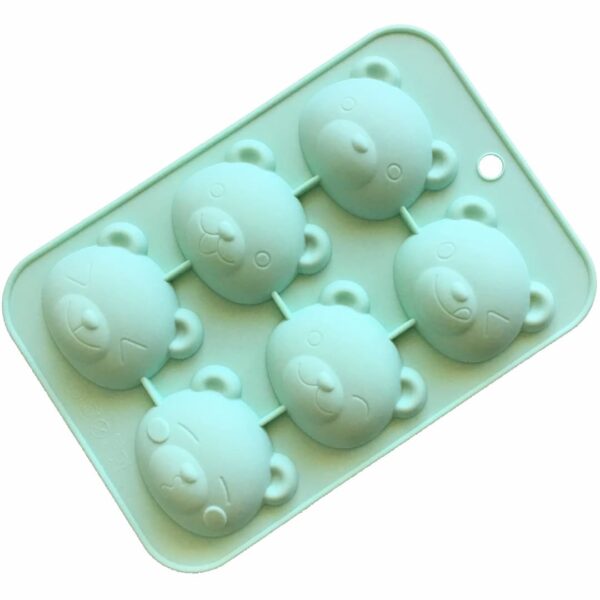
Silicone Mould – Teddy Bear Faces
$7.99 AUD Add to cart
Related Projects
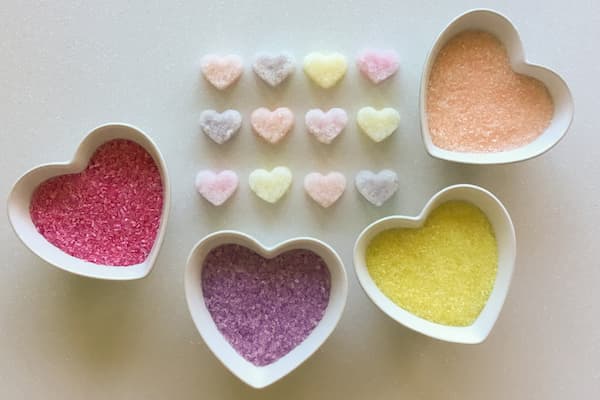
Mini Heart Epsom Salt Gems
Turn a cup of Epsom salts into these cute mini heart Epsom salt gems to add some pizazz to a relaxing hot bath.
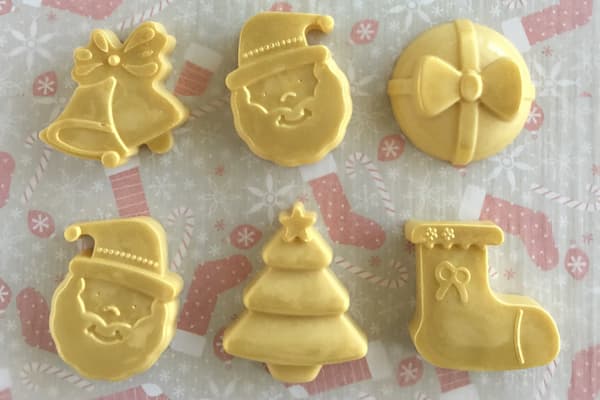
Christmas Lotion Bars
These Christmas inspired lotion bars contain Frankincense and Myrrh essential oils, plus gold mica to give them a beautiful golden shimmer.
Floral Lotion Bars
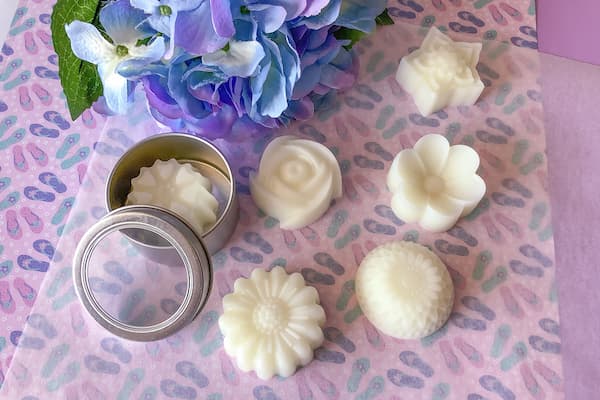
Take your favourite lotion bar recipe to a whole other level by moulding it into beautiful flower shapes like these floral lotion bars.
Floral Bath Bombs
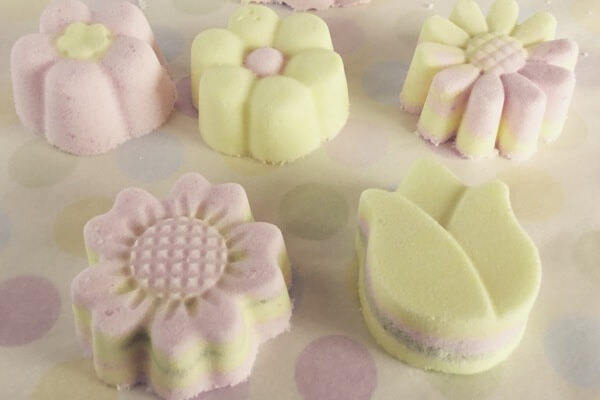
Making your own floral bath bombs is a super fun activity to try with the kids. Here’s a simple recipe to get you started.


